The ability to create projects and tasks in your personal account will open after installing agents.
To get started, click on the «Projects /Tasks» button in the top menu.

In the drop-down menu, select the option with the same name – «Projects / Tasks». On a page there will be a list of all active projects at the bottom, and a management menu at the top. Click on the «Add new project» button.

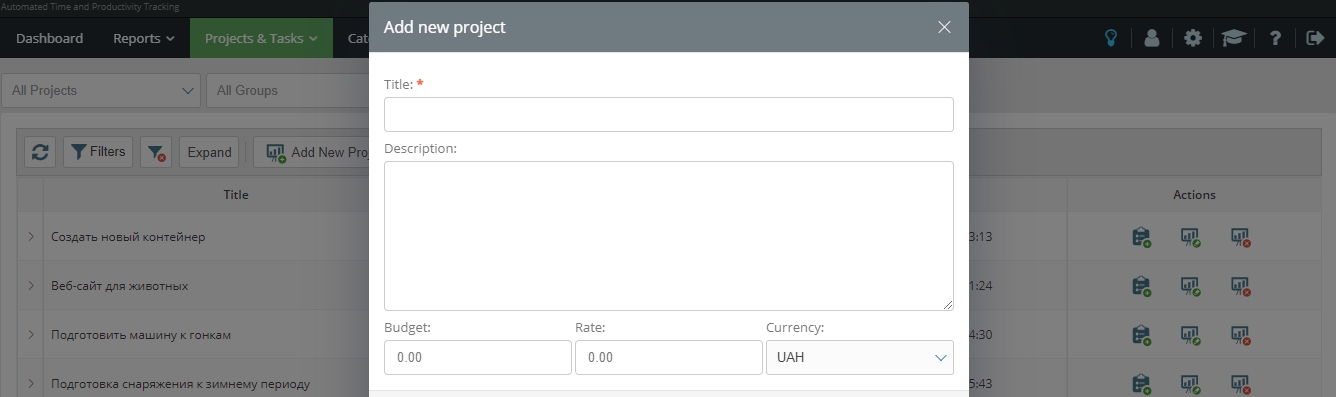
 In the window that opens, enter the name of the project and its description in the corresponding upper sections (optional). The bottom 3 positions are dedicated to setting up the project budget (you can see what it is and how to set it up here). To save the project, click the «Save» button below, or the «Close» button to cancel.
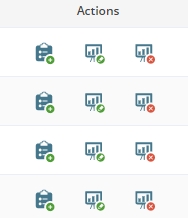
If you did everything correctly, the project would appear in the general list on the projects and tasks page. If necessary, the created project can be edited, deleted or a new task added to it using the buttons located on the right side of the project line. When you hover over the button, a text hint appears about its purpose.