
In the Configuration section you can configure the monitoring and reporting settings.
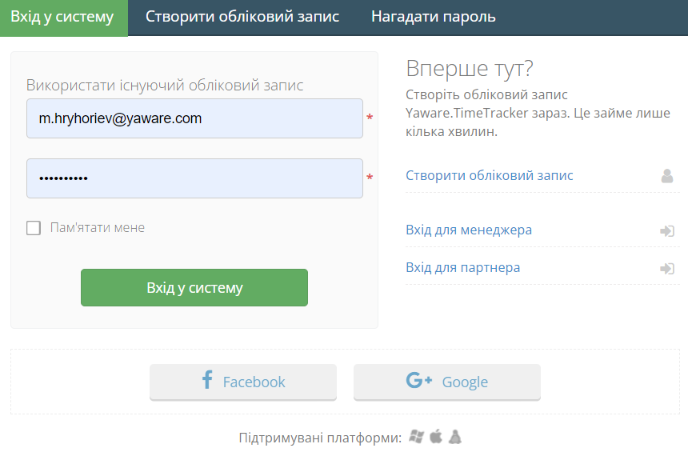
1. Enter your Yaware account. TimeTracker.
 2. Click on your identity name in the top right corner and clickConfiguration.
 3. To start the application visible, click on the icon“Show Yaware.TimeTracker Track”(Sighs) So the employees will know that they’re monitoring their work, and they can watch their work.
If you take this option off, Yaware.TimeTracker will work in “hidden” mode, so employees won’t know about monitoring.
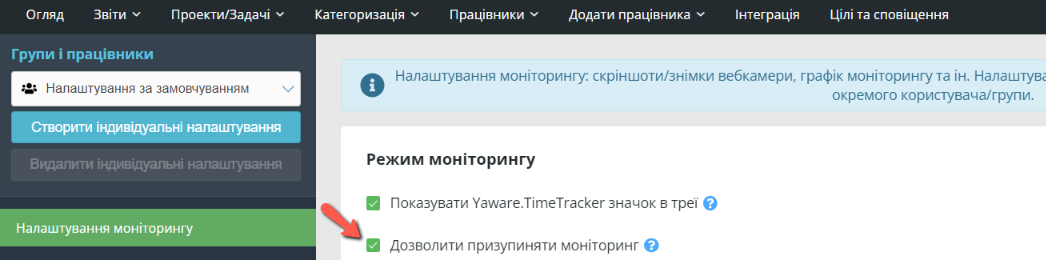
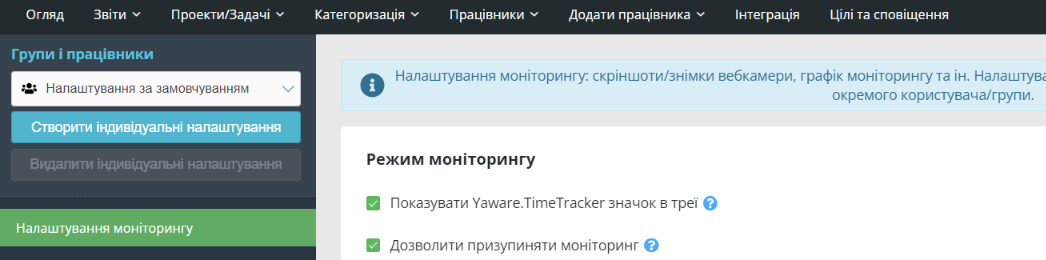 4. Click“Allow to pause monitoring”In monitoring, if you want to allow your cooperation to self-pause monitoring. If this option is selected, users can stop monitoring themselves10 min, 20 minutes, 30 minutes, 1 year, 2 year or the end of the dayMonitoring will be automatically restored after the specified amount of time. To pause the monitoring, the user must right click on the Yaware icon. TimeTracker and select to pause the monitor.
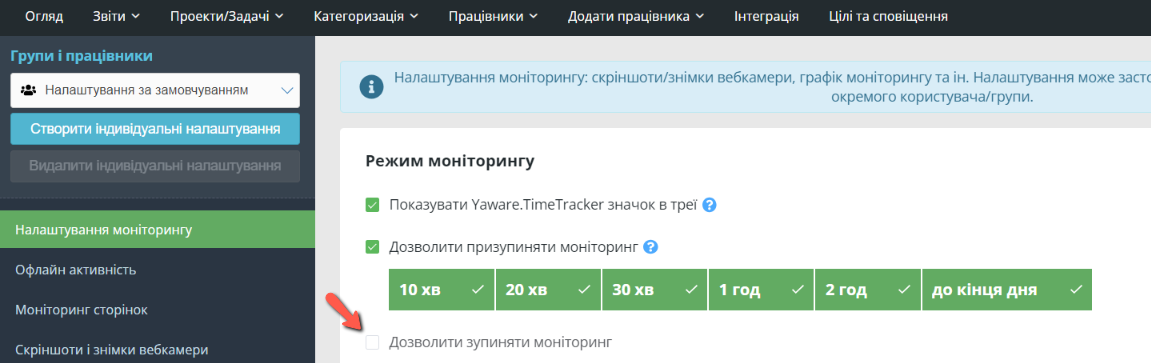
 5. Click“Allow to stop monitoring”If you want your employees to stop monitoring.
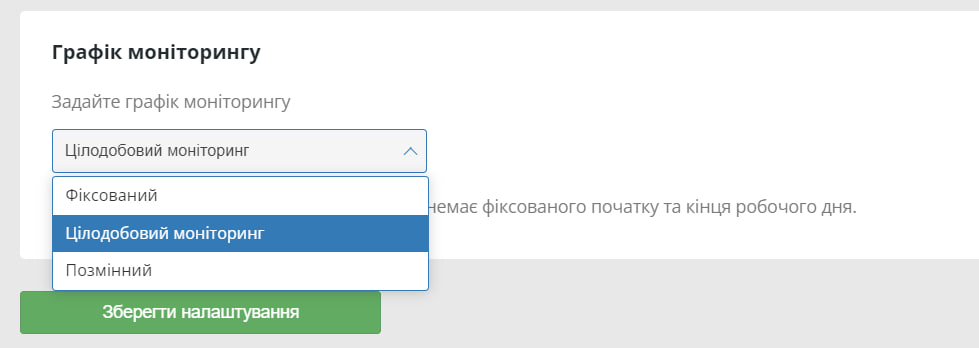
 6. Select a full monitor graph by selecting“Full-time monitoring.”(no work schedule – 24 hours a day).
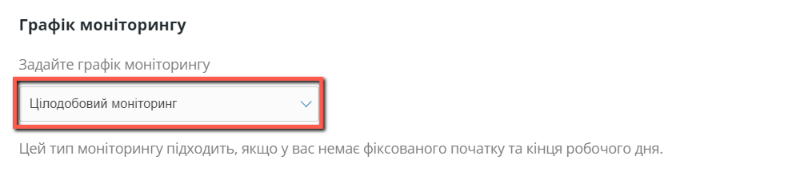 Or you can j choose a different option and configure options according to your employees’ schedules. Check the appropriate days and set the start time and end of the monitoring.
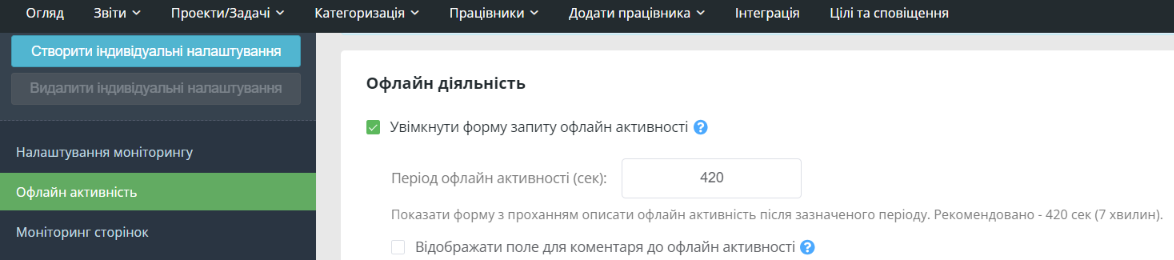
 7. Go toOnline activity.on the left panel and click on the button“Enable Online Activity Query Form”if you want to track activity in offline mode (eg; meetings, breaks, etc.). Set the appropriate checkmarks to configure the offshore monitor.
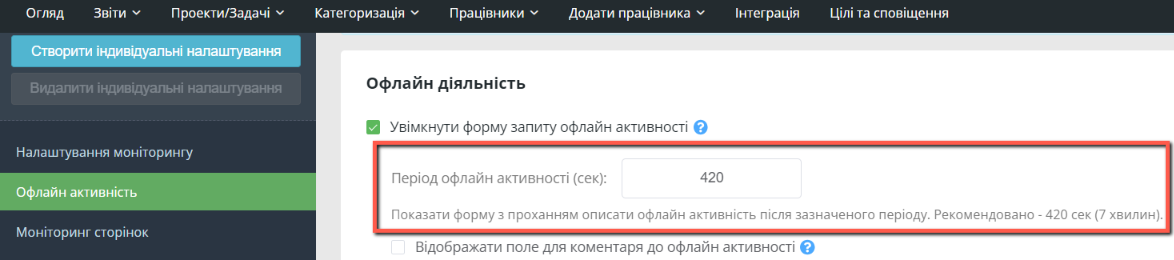
 8. Fill in the given fieldOnline activity period(recommended period 420 seconds (7 minutes):
 9. Click“Display the field for comment to offshore activity”If you want to get more information about an offshore employee activity.
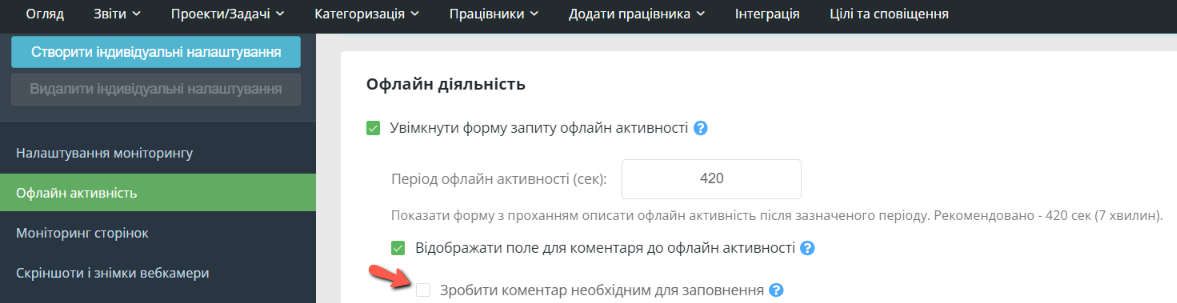
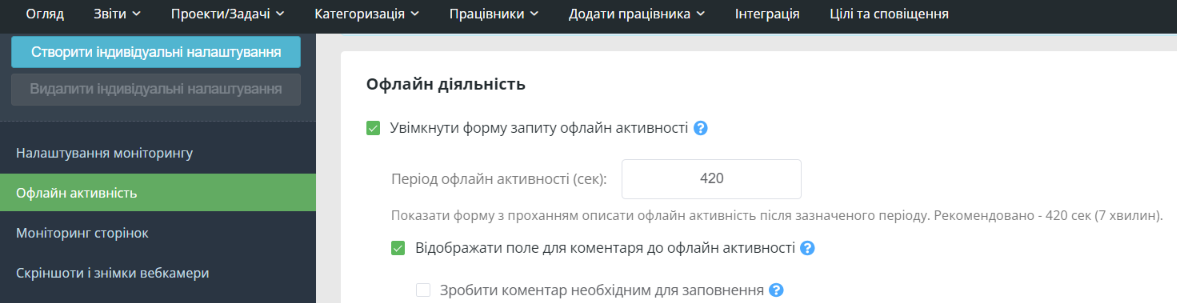 You can also make a comment mandatory by checking the options“Make the comment necessary to fill”.
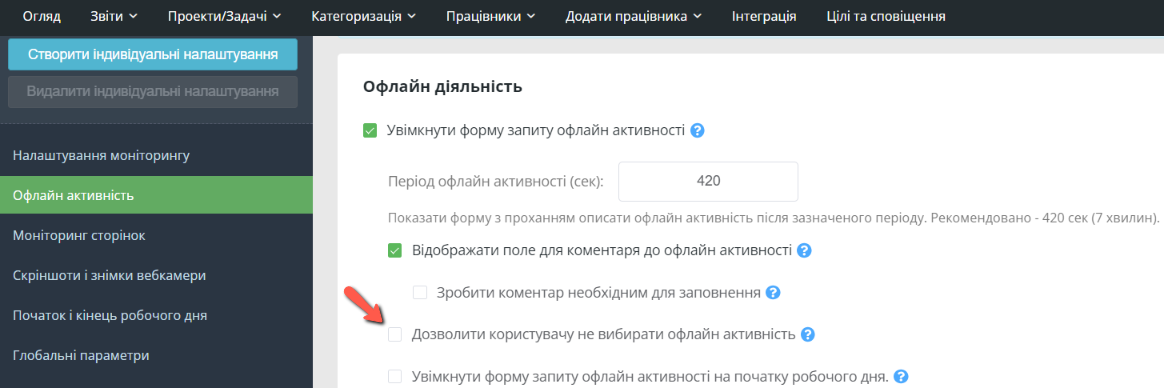
 10. Click“Allow user not to select offshore activity”If you don’t need additional information about offshore activity.
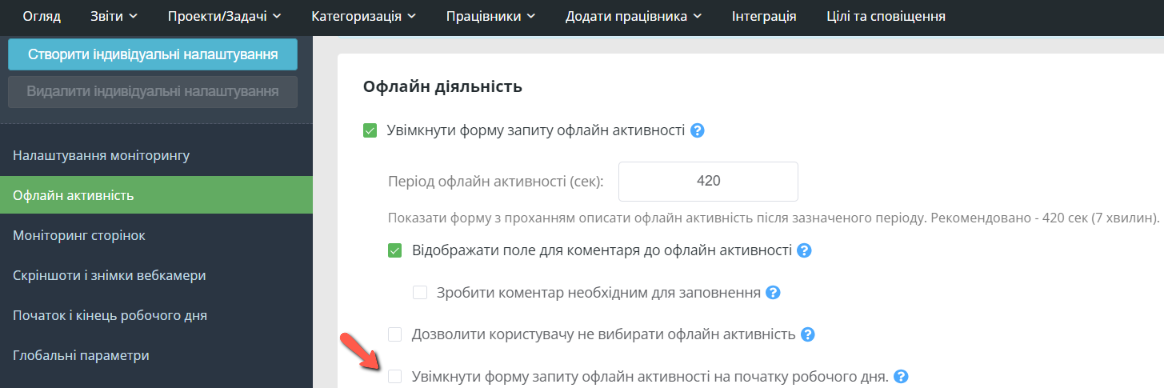
 11. If you want to know why the employee is late for work, press“Enable external activity query shape at the beginning of the working day”.
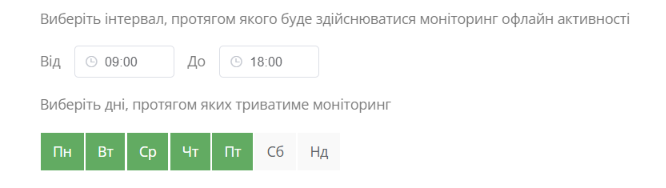
 12. Next, select the monitoring schedule for the offshore monitor. Click on“Use the same graph as a monitoring graph”If you want it to be the same.
 Or take off this option and set the monitoring schedule according to your needs (eg; 9: 00 to 18: 00):
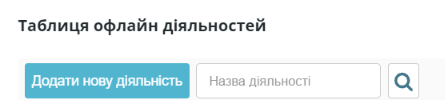
 13. Next, select the list of inactive jobs. Go to“A table of online activities”and then click onAdd New Activity:
 14. Fill in the dialog that opened up the activity name and its performance status:
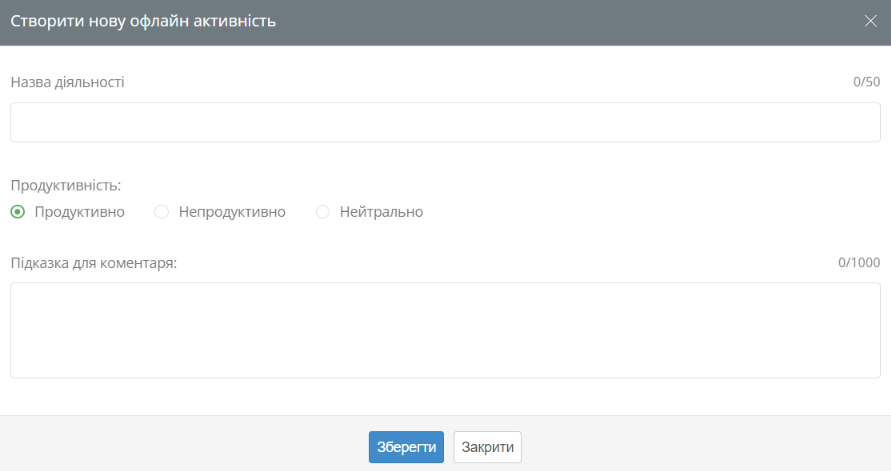 Click on the buttonSaveto save changes.
15. Next click on a tab“Stapler and Camera Pictures”on the left panel. Put a mark next to the items“Enable screen strokes”and“Include webcam pictures”To enable them. Also specify the capture period for both (minimum value – 3 minutes):
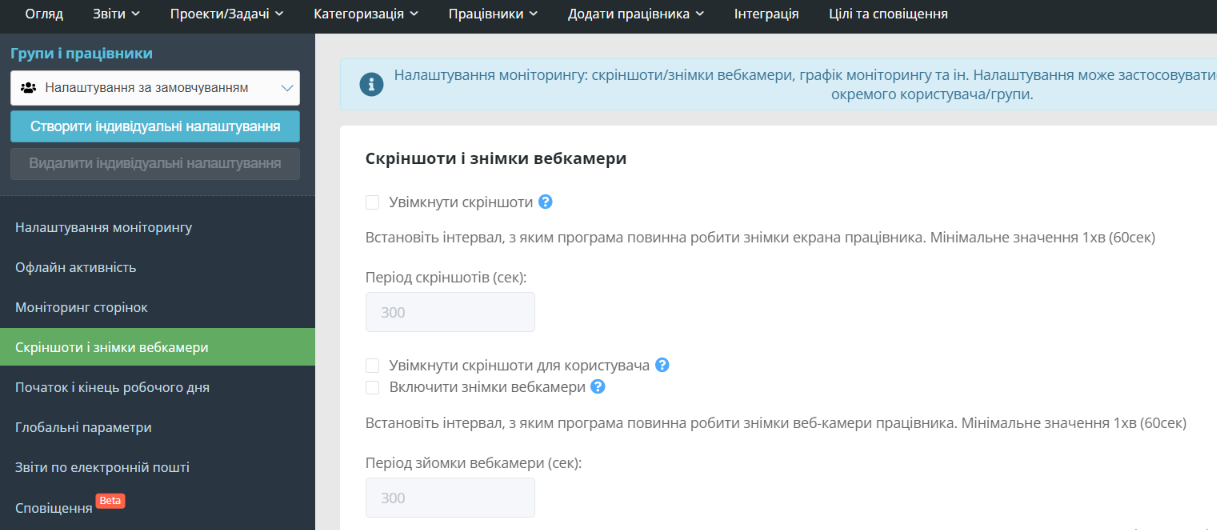 Click on the buttonSave Configurationto save changes.
16. Click on a tab“Start and End of Work Day”on the left panel. You can only use the only time for all days:
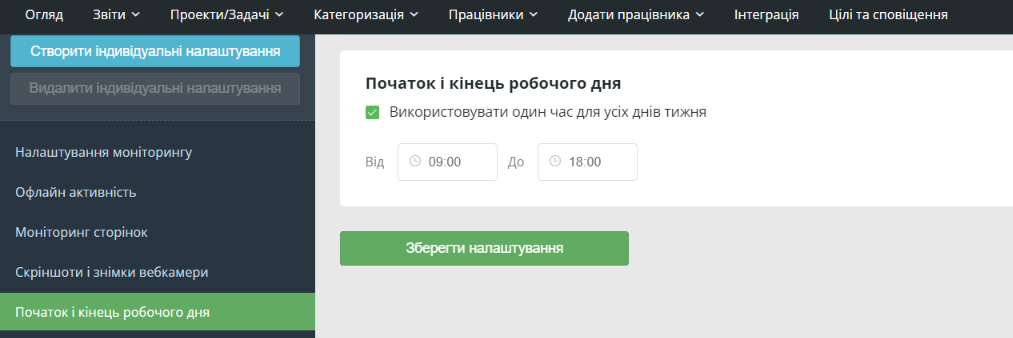 Or you can take off the trigger and adjust the time.
ClickSave Configurationto save changes.
17. Go to Tab“Global Settings”on the left panel. Click on“Data storage term”and select what you want (eg; 12 months).
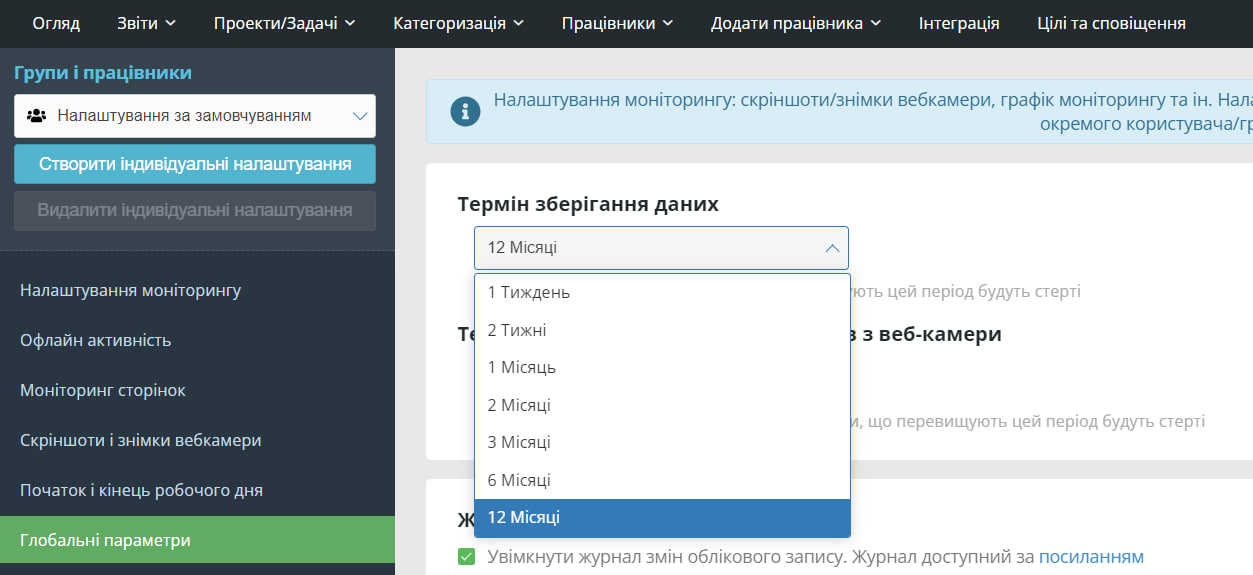 18. Click on“The term to store the screenshots / pictures from the webcam.”to set the period you want (eg; 12 months).
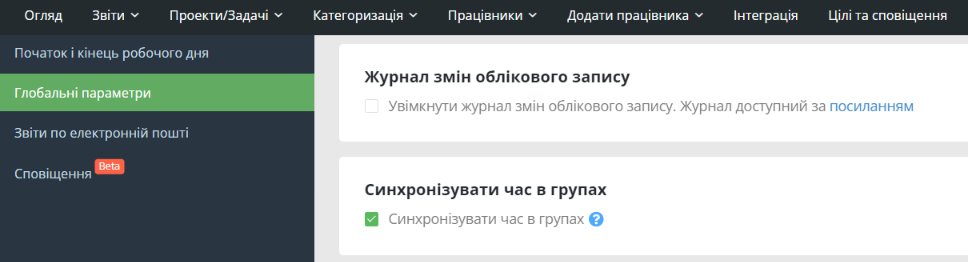
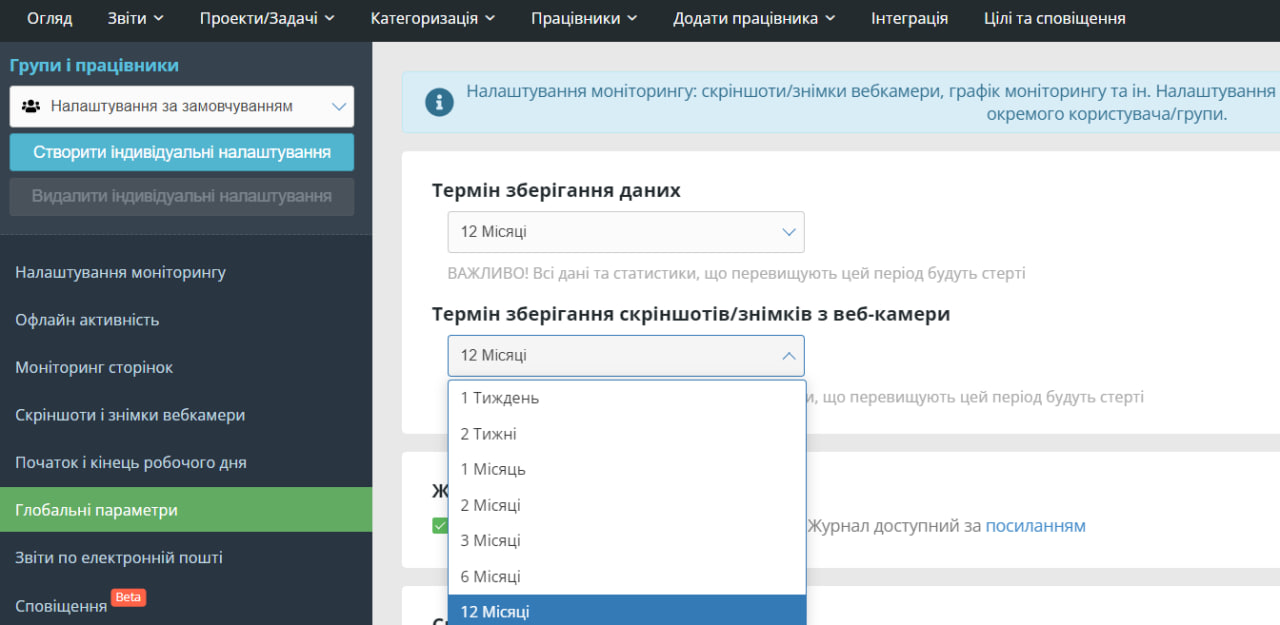 19. Click onAccount Change Logto view all the changes that have occurred in your account (this option is useful for technical personnel and large companies that have a centralized magazine repository).
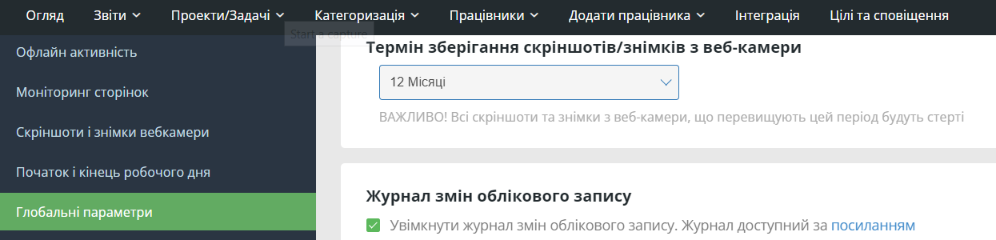 Twenty. Click“Synchronize Time in Groups”if you want to sync the start of the working day with different graphs.
 Click on the buttonSave Configurationto save changes.
21. Go to Tab“Reports via Email”on the left panel. Next, select the report frequency you want by checking the check box next to the appropriate option – every day, weekly or monthly.
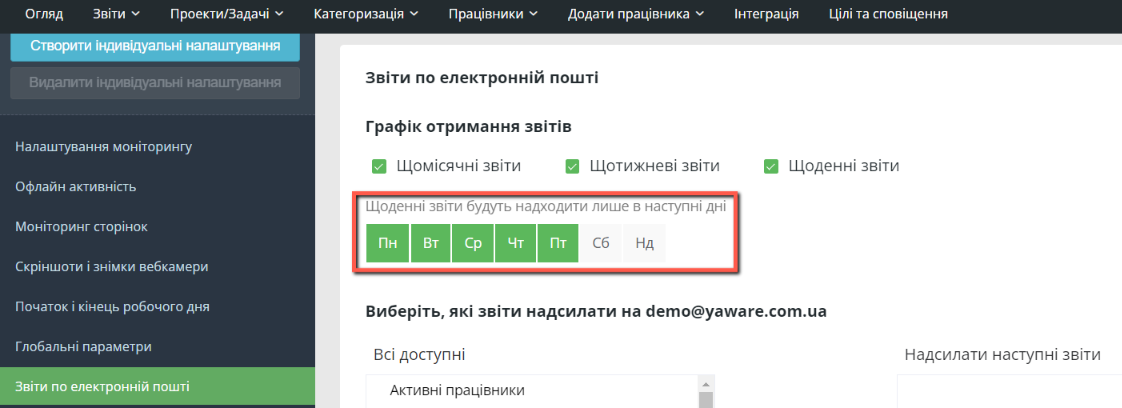
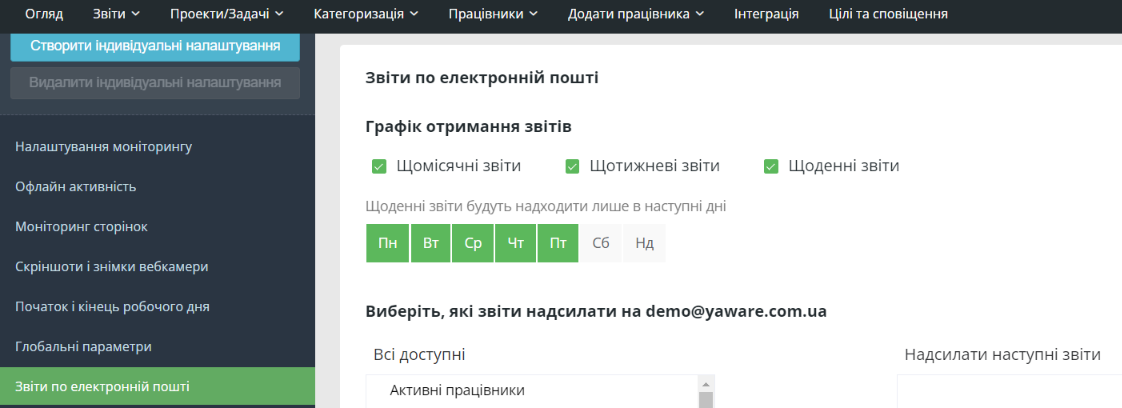 22. Select specific days for daily reports.
 Click on the buttonSave Configurationto save changes.
Ready – you successfully set the monitoring!